Installing SQL Server 2008 R2
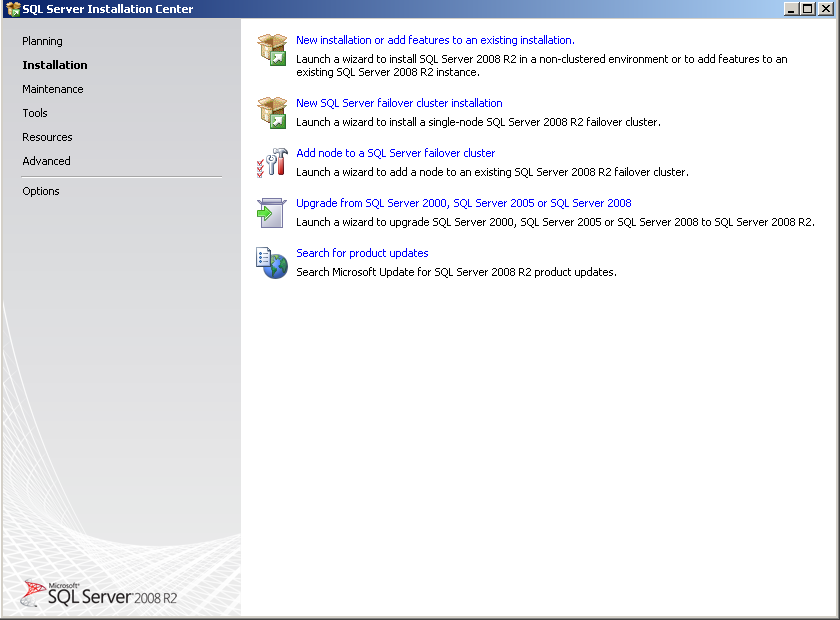
After running the setup program, enter the SQL Server Installation Center, as shown in Figure 2.
Figure 2: SQL Server Installation Center
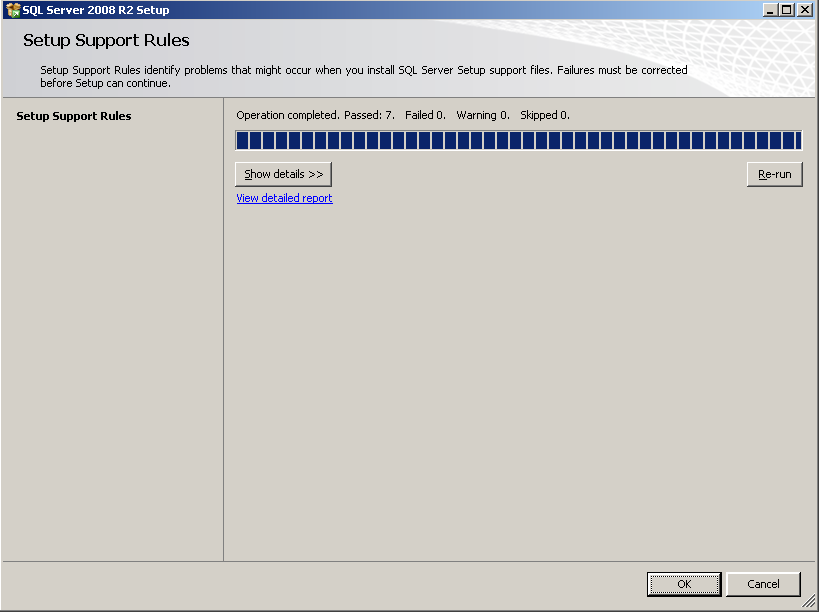
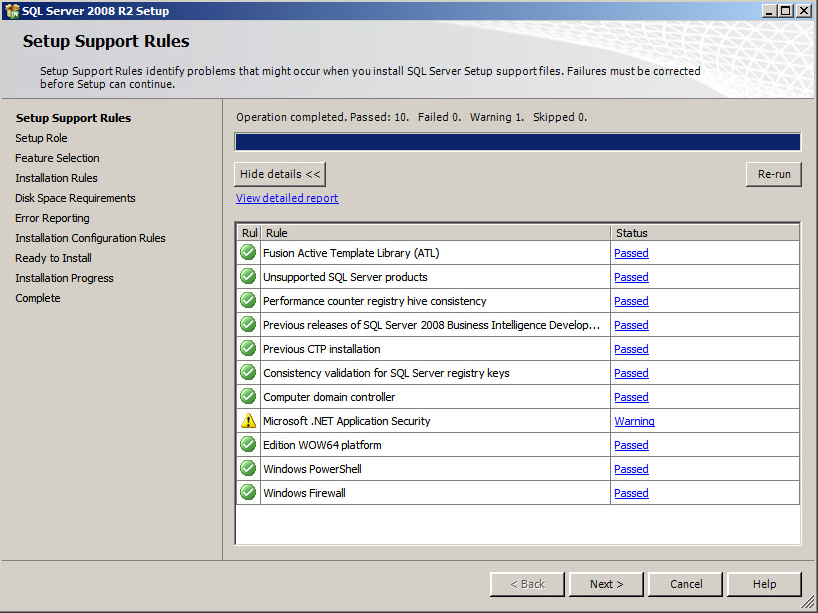
Select Installation from the navigation tree, and then click New installation or add features to an existing installation to enter the Setup Support Rules page, as shown in Figure 3.
Figure 3: Setup Support Rules page
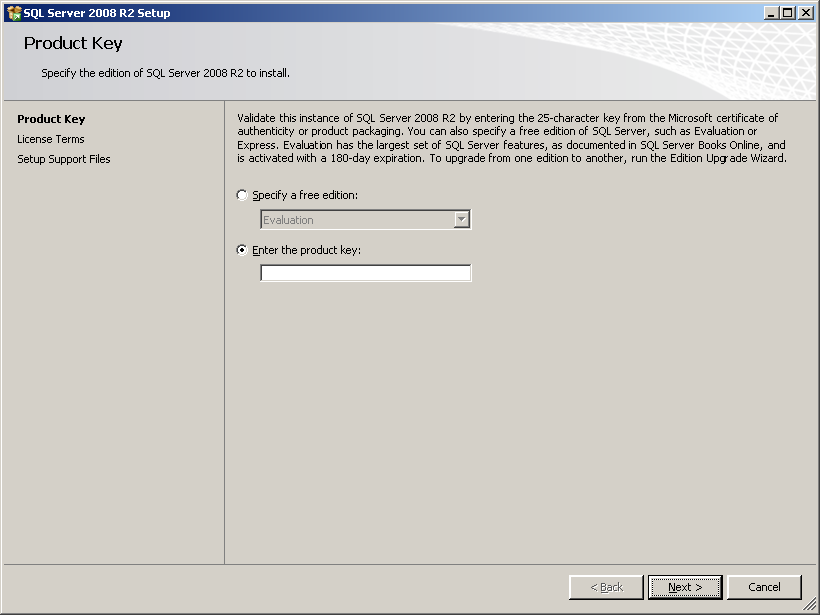
Click OK to enter the Product Key page, as shown in Figure 4.
Figure 4: Product Key page
Enter the product key and click Next to enter the License Terms page, as shown in Figure 5.
Figure 5: License Terms page
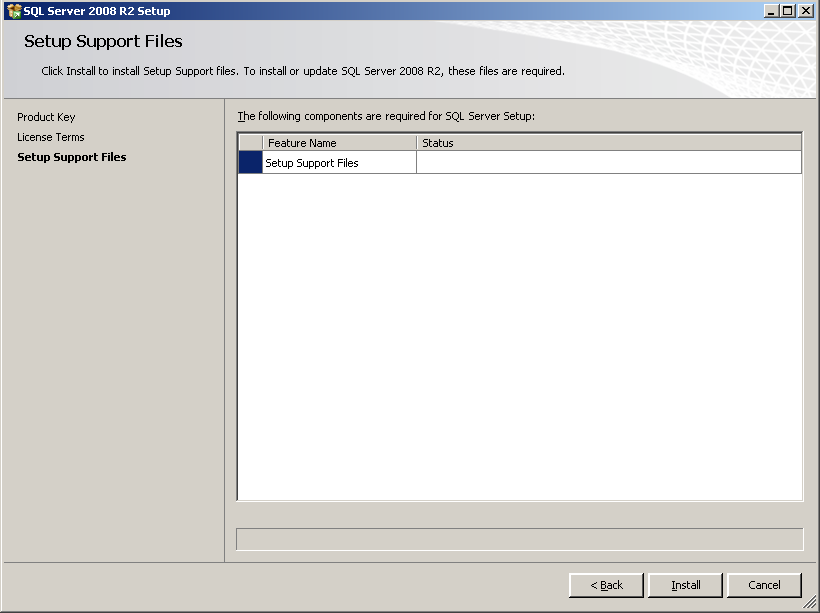
Select I accept the license terms and click Next to enter the Setup Support Files page, as shown in Figure 6.
Figure 6: Setup Support Files page
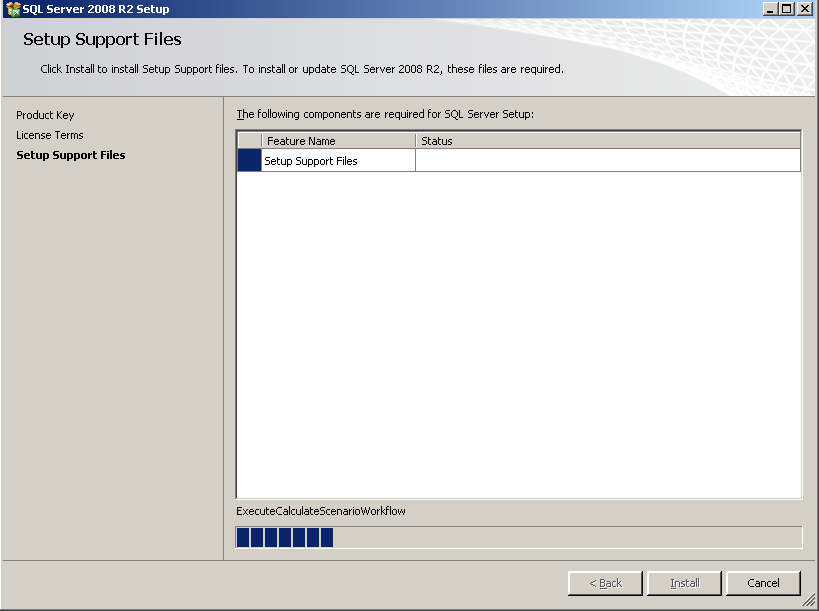
Click Install to start installing setup support files, as shown in Figure 7.
Figure 7: Setup Support Files operation process
Upon completion of the installation, the Setup Support Role page opens, as shown in Figure 8.
Figure 8: Setup Support Role page
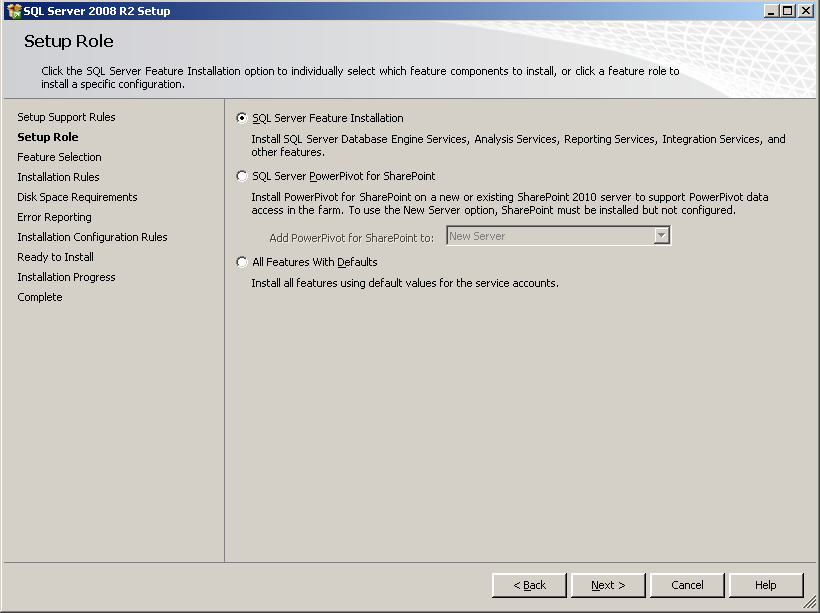
Click Next to open the Setup Role page, as shown in Figure 9.
Figure 9: Setup Role
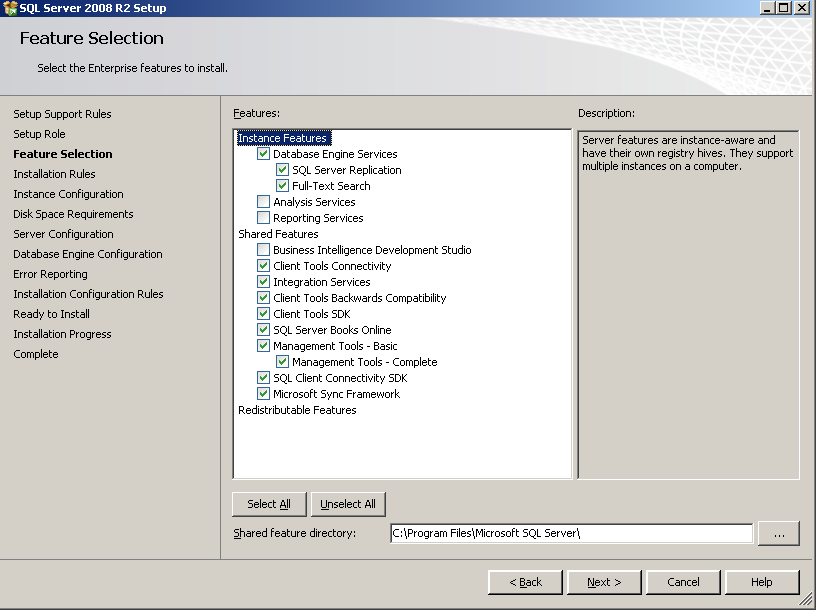
Select SQL Server Feature Installation and click Next to enter the Feature Selection page, as shown in Figure 10.
Figure 10: Feature Selection page
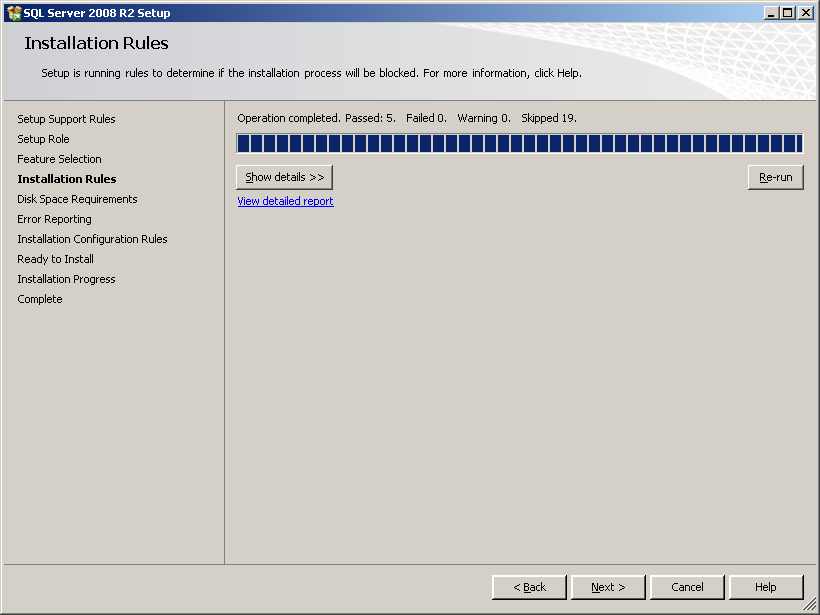
Select the features shown in Figure 10, and consult your SQL Server administrator for an optimized location of shared features. Click Next and the Installation Rules page opens, as shown in Figure 11.
Figure 11: Installation Rules page
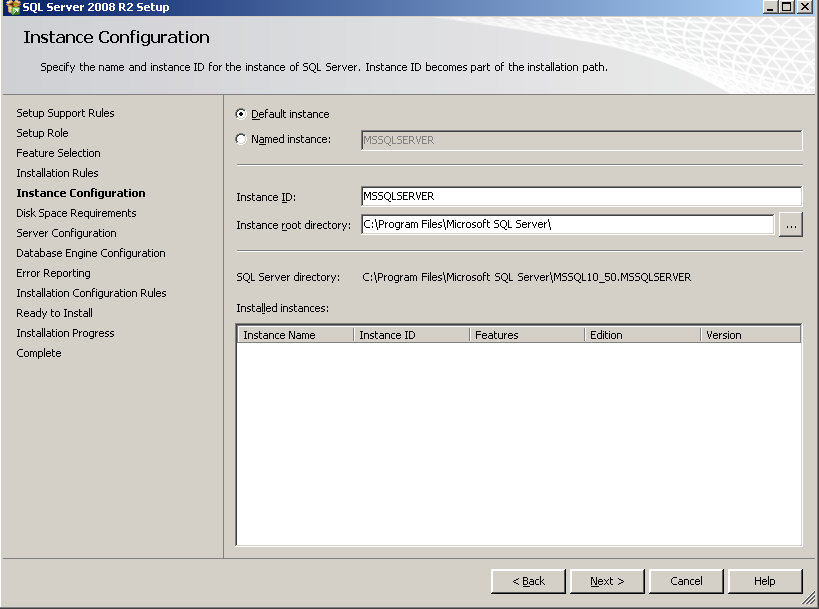
Click Next to enter the Instance Configuration page, as shown in Figure 12.
Figure 12: Instance Configuration page
Select Default instance and use MSSQLSERVER as the Instance ID. Do not modify the default instance ID. As a best practice, also set the default instance for the SQL Server 2008 R2 Express edition, even though the Named instance option is selected by default.
An advanced user can select Named instance and then enter a custom instance ID. For detailed installation step information, see "When the default instance of the database is used by other application, how do I install the database using the named instance?" The user must enter the instance ID in the Instance Name field on the Checking Database Connectivity page during IMC installation.
If you set a custom instance ID for the SQL Server 2008 R2 Express edition, start the SQL Server Browser service after the installation. For more information, see "Modifying the maximum server memory for the SQL Server."
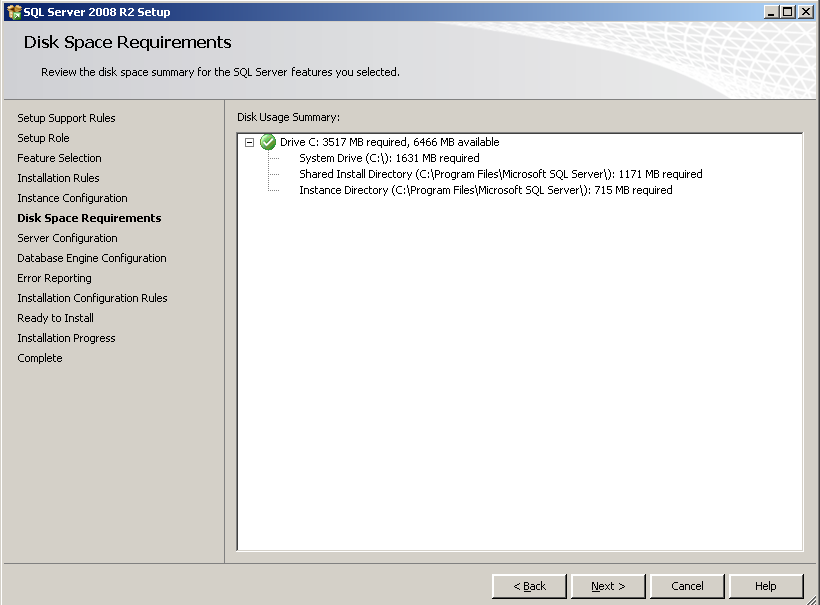
Click Next to enter the Disk Space Requirements page, as shown in Figure 13.
Figure 13: Disk Space Requirements page
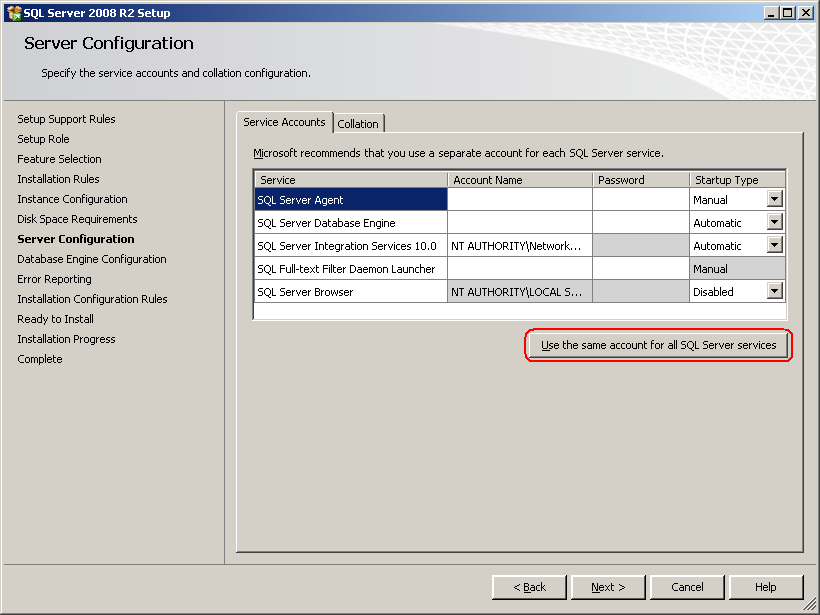
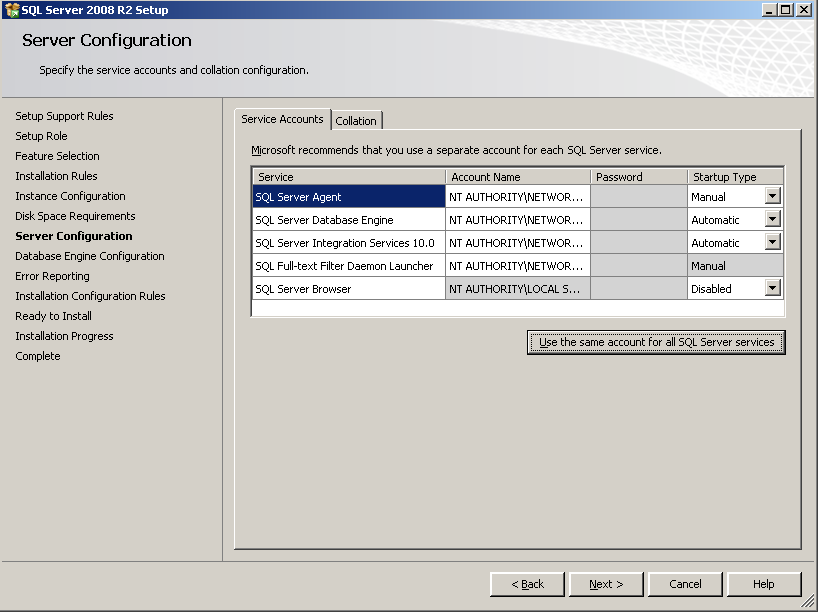
Click Next to enter the Server Configuration page, as shown in Figure 14.
Figure 14: Server Configuration page
If you selected Named instance for the SQL Server in Figure 12, set Startup Type for the SQL Server Browser service to Automatic.
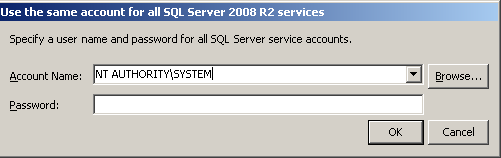
Click Use the same account for all SQL Server services to set a service account, as shown in Figure 15.
Figure 15: Use the same account for all SQL Server 2008 R2 services dialog box
Set the account for starting the SQL Server service. Then click OK to go back to the server configuration page, as shown in Figure 16.
Figure 16: Server Configuration page
Click the Collation tab, as shown in Figure 17.
Figure 17: Collation tab page
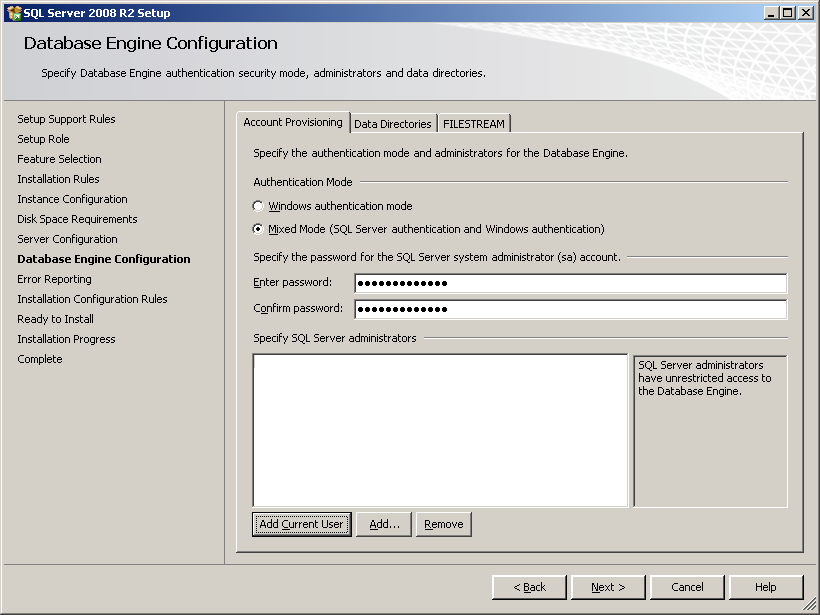
Without any configuration on the Collation tab page, click Next to enter the Database Engine Configuration page, as shown in Figure 18.
Figure 18: Database Engine Configuration page
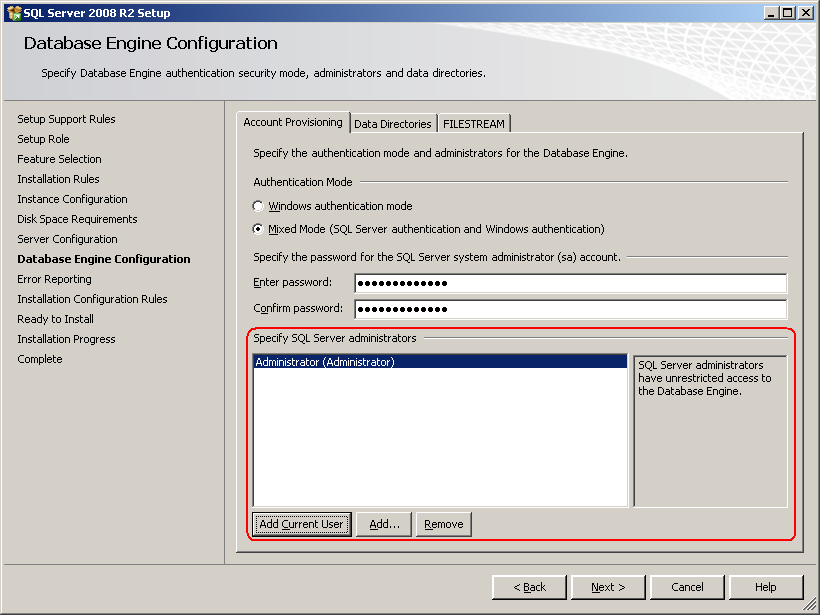
Configure the Authentication Mode as Mixed Mode and enter the password of user sa. SQL Server 2008 R2 has certain requirements for password complexity. For information about password complexity, see the online help in the system. You can also specify a SQL Server administrator according to the actual conditions, as shown in Figure 19.
![[IMPORTANT: ]](images/important.png)
IMPORTANT:
For IMC to correctly identify the sa logon password during installation, make sure the password does not contain any of the following characters:< > | \t
If you do not want to change the password of the sa user, create a user with sa user privileges and make sure that the password does not contain any of the previous characters. For more information about creating a database user, see "Creating a database user with administrator privileges."
Figure 19: Specifying SQL Server administrators
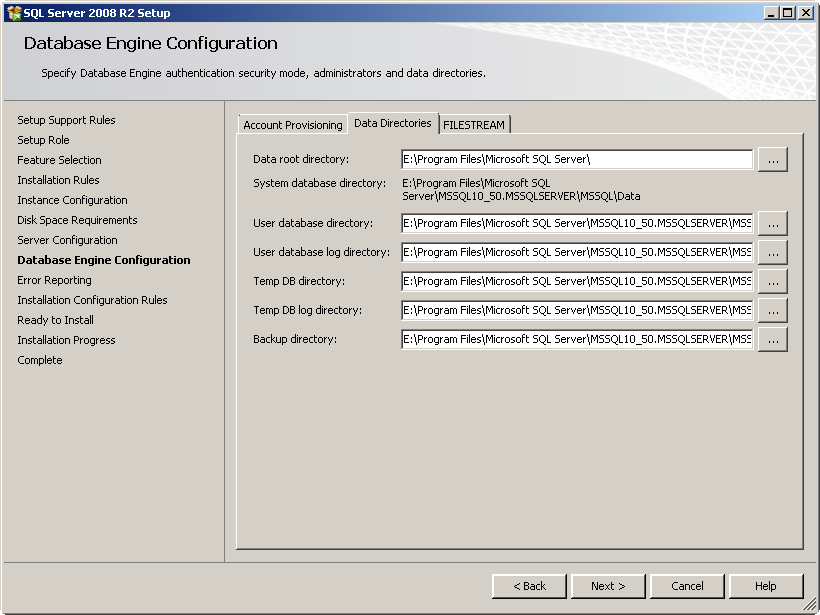
The Data Directions tab page is shown in Figure 20. Consult your SQL Server administrator for an optimized location of SQL Temp and Data files.
Figure 20: Data Directories tab page
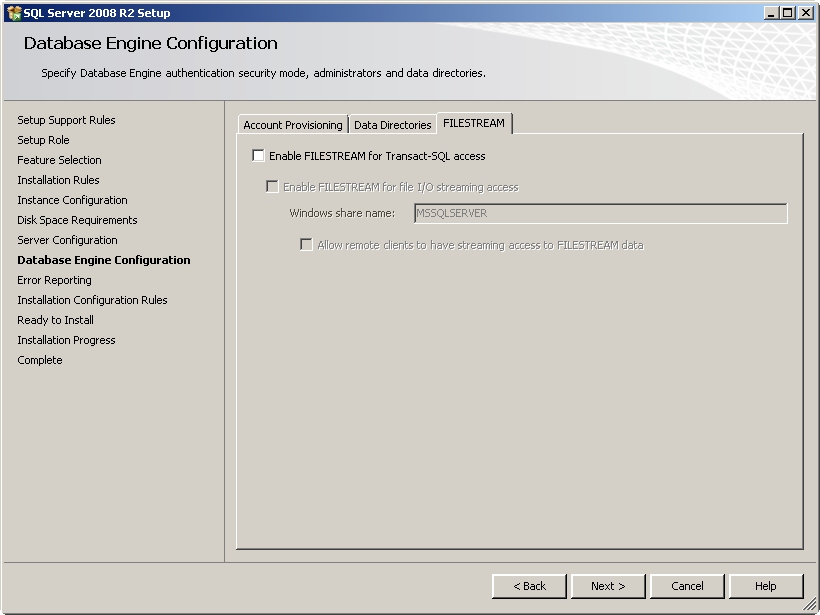
The FILESTREAM tab page is shown in Figure 21. Use the default values without any configuration.
Figure 21: FILESTREAM tab page
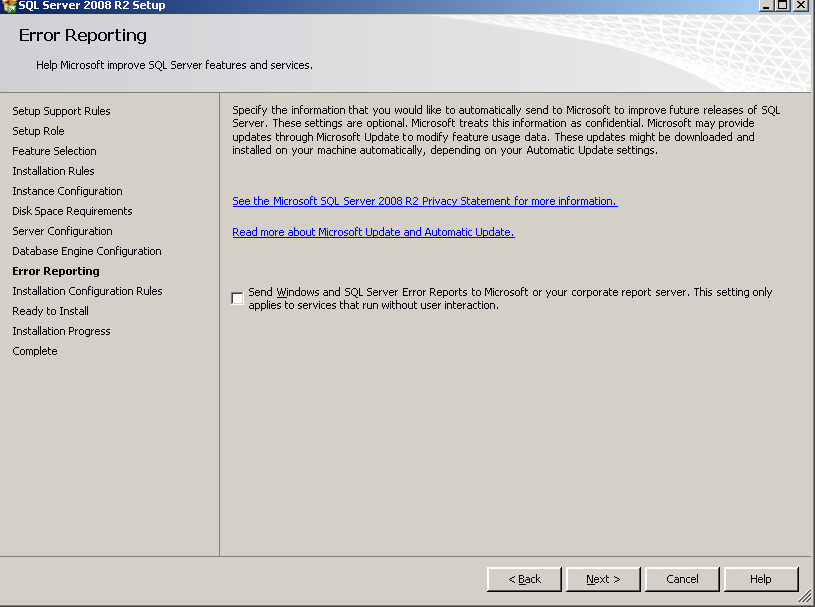
Click Next to enter the Error Reporting page, as shown in Figure 22.
Figure 22: Error Reporting page
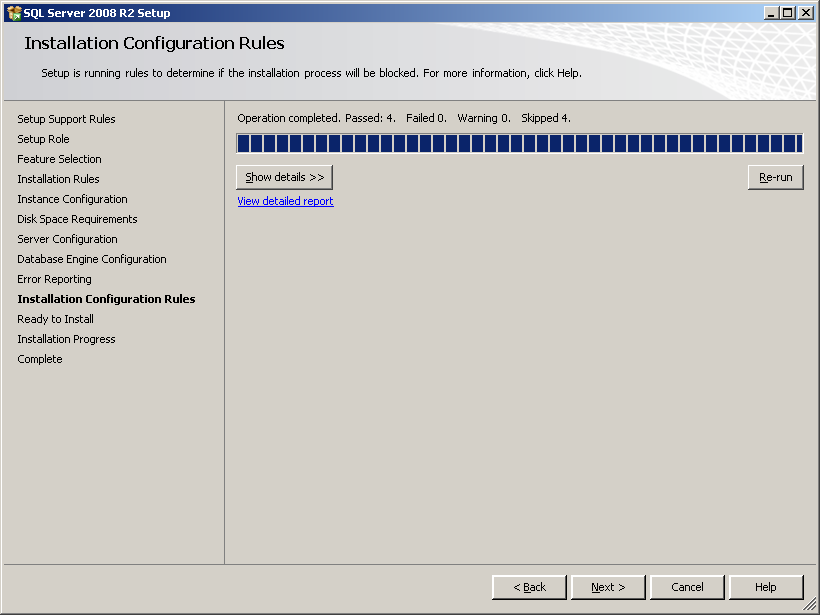
Without any configuration, click Next to enter the Installation Rules page, as shown in Figure 23.
Figure 23: Installation Rules page
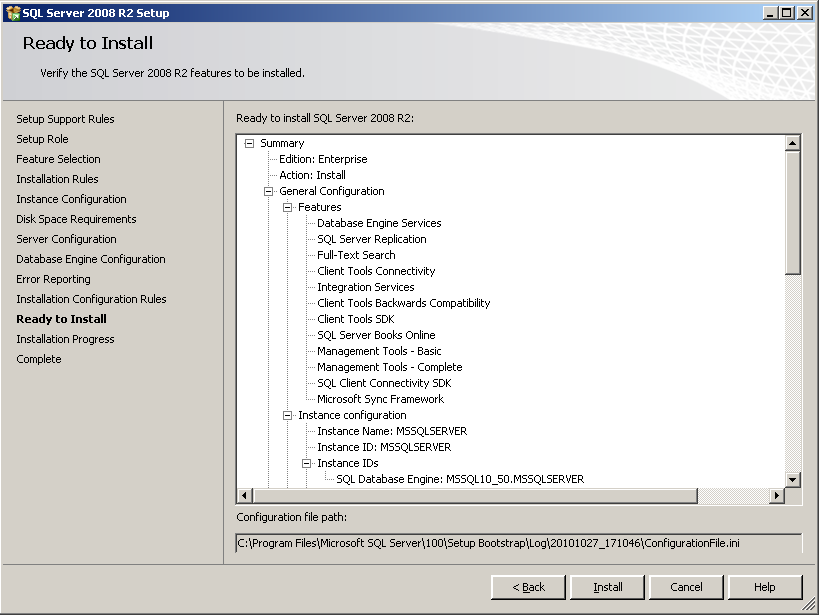
Click Next to enter the Ready to Install page, as shown in Figure 24.
Figure 24: Ready to Install page
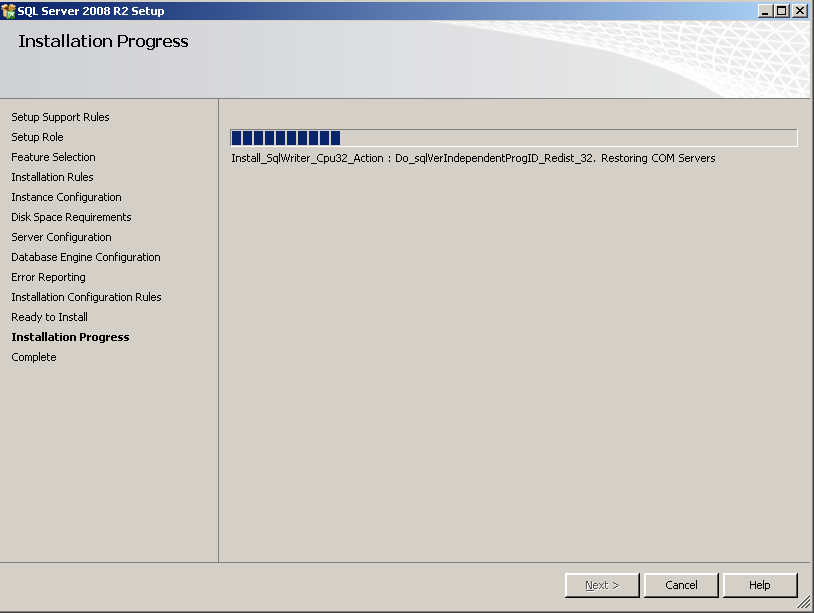
Click Install to enter the Installation Progress page, as shown in Figure 25.
Figure 25: Installation Progress page
The components installed are relevant to the features selected previously.
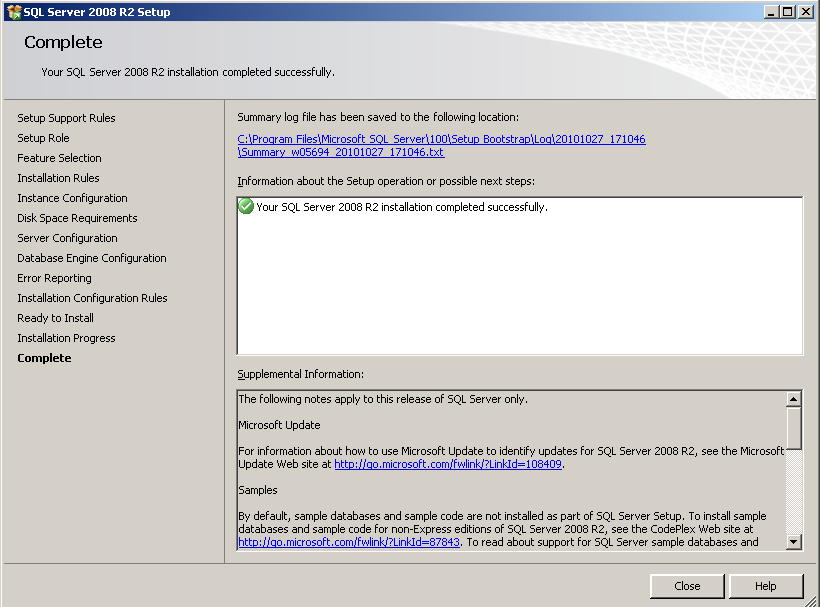
Upon completion of the installation, click Next to enter the Complete page, as shown in Figure 26.
Click Close to close the Complete page.
Figure 26: Complete page