After a Candidate becomes a stack Member, you can use that stack's Commander to access the Member's console interface for the same configuration and monitoring that you would do through a Telnet or direct-connect access.
-
From the Main Menu, select 9. Stacking... —> 5. Stack Access
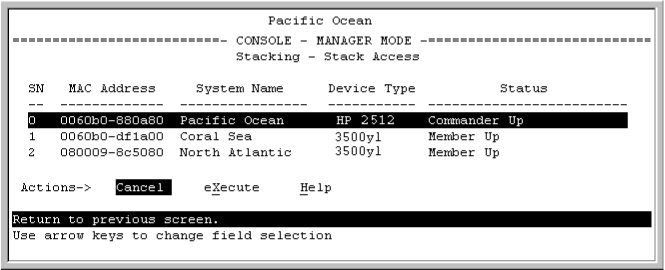
You will then see the Stack Access screen.
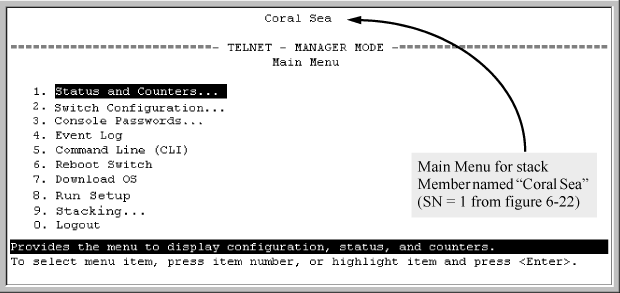
Use the down arrow key to select the stack Member you want to access, then press X (for eXecute) to display the console interface for the selected Member. For example, if you selected switch number 1 (system name:
Coral Sea) in The Stack Access screen and then pressed X, you would see the Main Menu for the switch namedCoral Sea. -
Make configuration changes and view status data for the selected Member in the same way you would if you were directly connected to the switch.
-
When you finish accessing the selected Member, do the following to return to the Commander's Stack Access screen:
You should now see the Commander's Stack Access screen. (For an example, see The Stack Access screen on The Commander’s Stacking Status screen.)

