Installing slide rails and cage nuts to the rack
Before installing the switch in the rack, secure slide rails to the rack. Besides slide rails, you can use a rack shelf to support the switch. This document describes how to install slide rails only.
To ensure correct installation, use industry-standard slide rails or rack shelves. Slide rails or rack shelves are not provided with the switch. HP recommends that you order HP slide rail LSTM2KSGD0. The slide rail can be used in racks where the distance between the front and rear rack posts is in the range of 500 mm to 800 mm (19.69 in to 31.50 in).
Installing slide rails
If the rack has slide rails, skip this section.
The appearance and installation methods of slide rails depend on the slide rail types.
This section uses a 19-inch rack as an example to describe the installation procedures. The rack unit (RU) (44.45 mm, or 1.75 in) measures the height of rack posts. As shown in Figure 14, each 1 RU has three mounting holes with center-to-center separations of 15.88 mm (0.63 in), 15.88 mm (0.63 in), and 12.70 mm (0.5 in). When installing the slide rails, make sure the bottom edge of the slide rails aligns with the middle of the narrowest separation between mounting holes.
To install the slide rails:
Mark the position of the slide rail on the rack posts. Make sure the bottom edge of the slide rails or rack shelf aligns with the middle of the narrower metal area between holes as shown in Figure 14.
![[TIP: ]](images/tip.png)
TIP:
A total of six screws are required within the 2 RU of installation space for each side of the slide rail. You can mark the position for the top cage nut only.
Figure 14: Locating the installation position of the slide rails
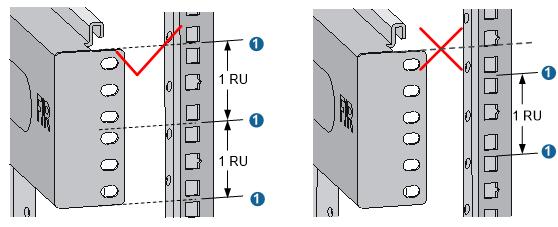
(1) Middle of the narrower metal area between holes |
Install the cage nuts on the rack posts.
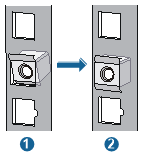
Insert the upper ear (callout 1 in Figure 15) of a cage nut into the corresponding installation hole.
Push the cage nut to lead its lower ear (callout 2 in Figure 15) into the same hole.
Repeat steps a and b to complete installation of 24 cage nuts on the rack post. (Six cage nuts for each rack post.
Figure 15: Installing the cage nuts
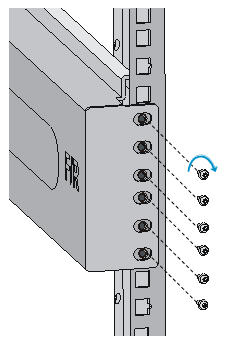
Align the screw holes on the two sides of the right slide rail (marked with F/R) with the marked holes on the right rack posts, and then fasten the screws.
Figure 16: Fastening the screws
Use the same method described in step 3 to install the left slide rail to the left rack posts.
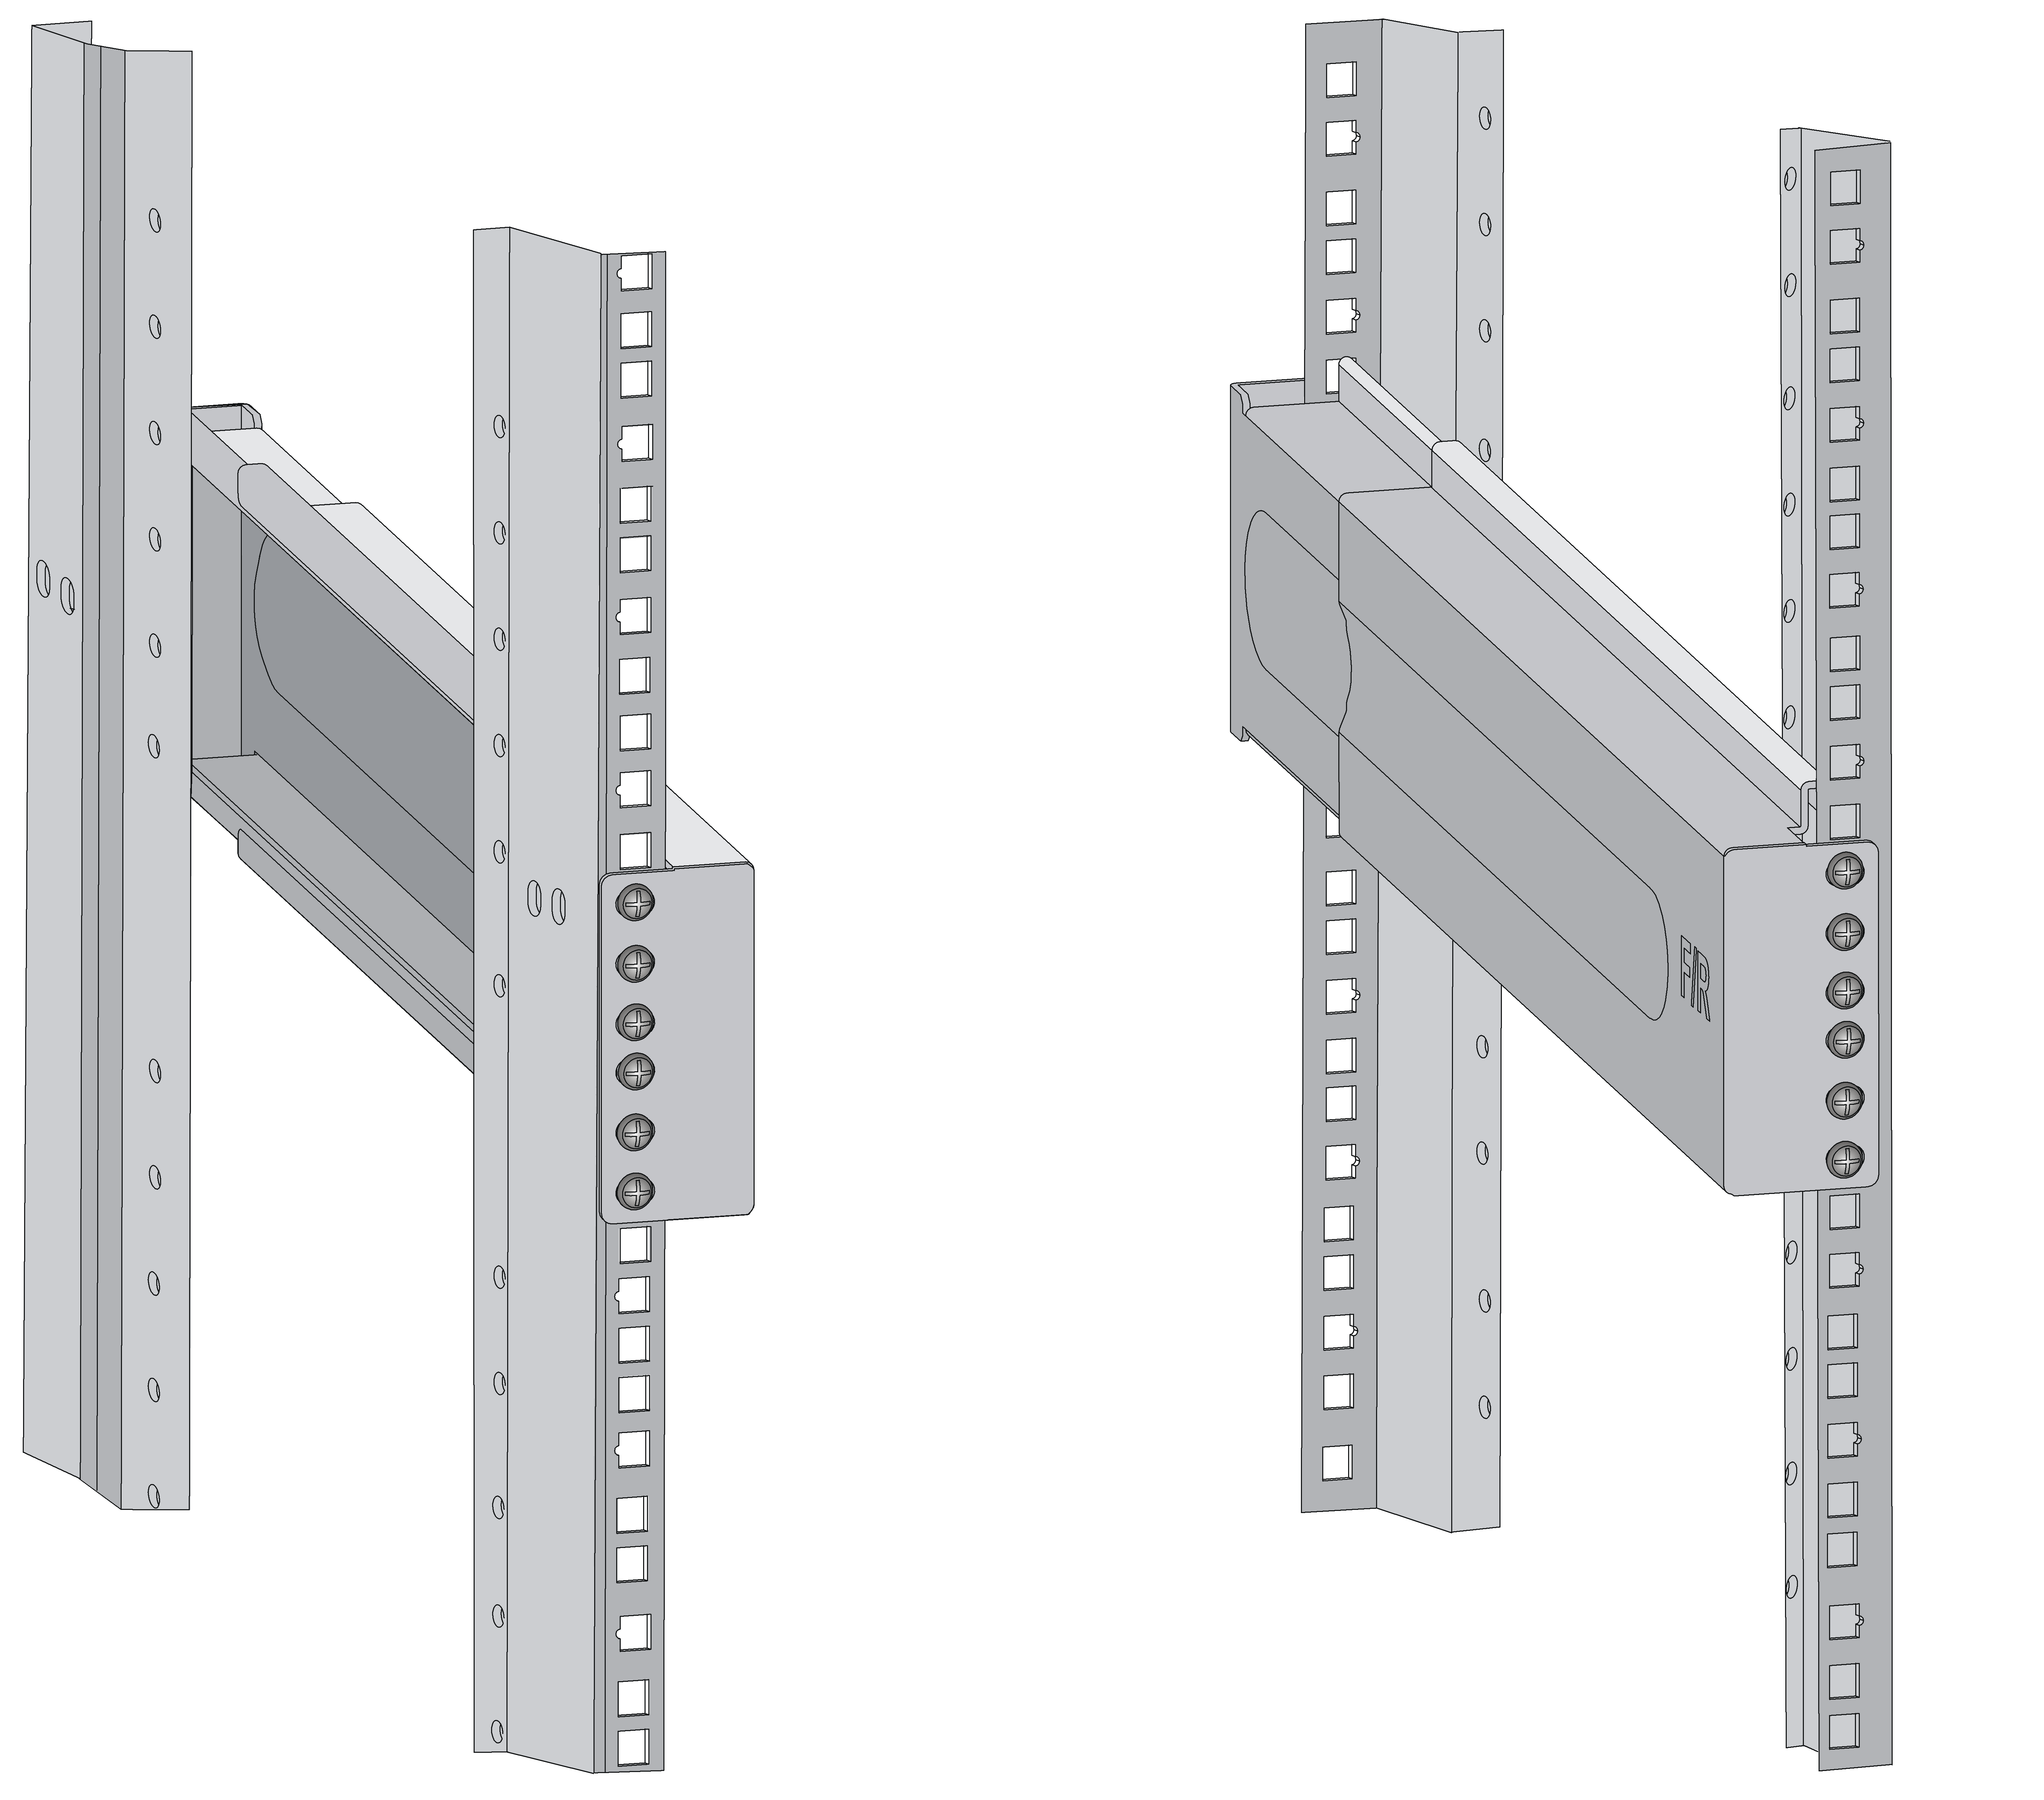
Keep the two slide rails at the same height so that the switch can be placed evenly.
Figure 17: Slide rails installed correctly
Installing cage nuts
Before mounting the chassis to the rack, install cage nuts to the front square-holed brackets of the rack.
To install cage nuts to the rack:
Align the mounting bracket with the left rack post, making sure its bottom edge and the slide rail are level. Mark the positions of the cage nuts on the rack post according to the mounting holes on the mounting bracket. (Each mounting hole on the mounting bracket corresponds to one cage nut.)
![[NOTE: ]](images/note.png)
NOTE:
The mounting brackets are fixed on the chassis of the 12508E and 12518E before delivery from the factory. To determine the installation holes for cage nuts, you can remove a mounting bracket from the chassis and mark the nut holes, or use a pattern tool to record the installation holes of the mounting brackets and mark the nut holes accordingly.
Install cage nuts to the rack posts using the method described in relevant steps in "Installing slide rails."
Figure 18: Installing the cage nuts
