Installation procedure
If you install IMC and the SQL server on different hosts, install the SQL Server client on the host where IMC is located, and make sure the client version matches the SQL server version.
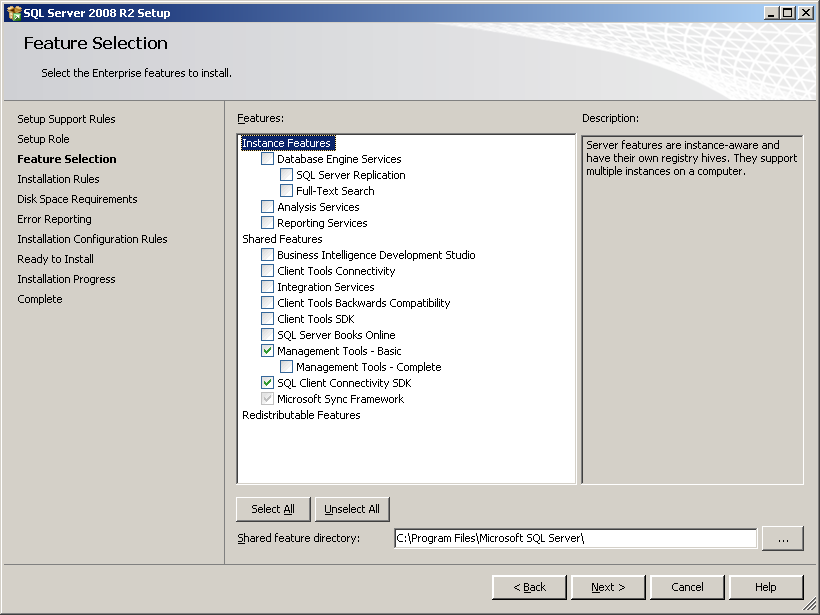
On the Feature Selection page, select client components, as shown in Figure 29. See "Installing SQL Server 2008 R2" for how to enter the Feature Selection page.
Figure 29: Feature Selection page
Select the features (Management Tools – Basic and SQL Client Connectivity SDK) shown in Figure 30, and then click Next.
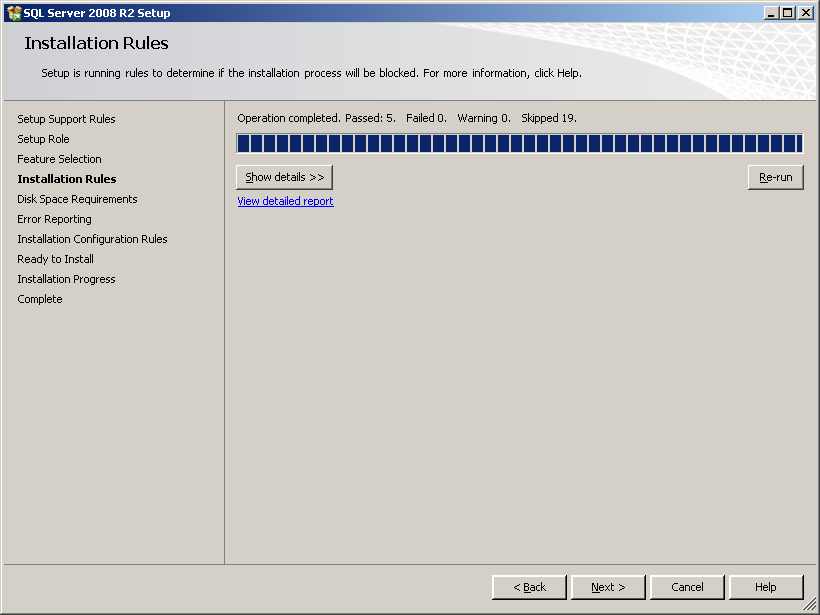
Figure 30: Installation Rules page
Click Next to enter the Disk Space Requirements page, as shown in Figure 31.
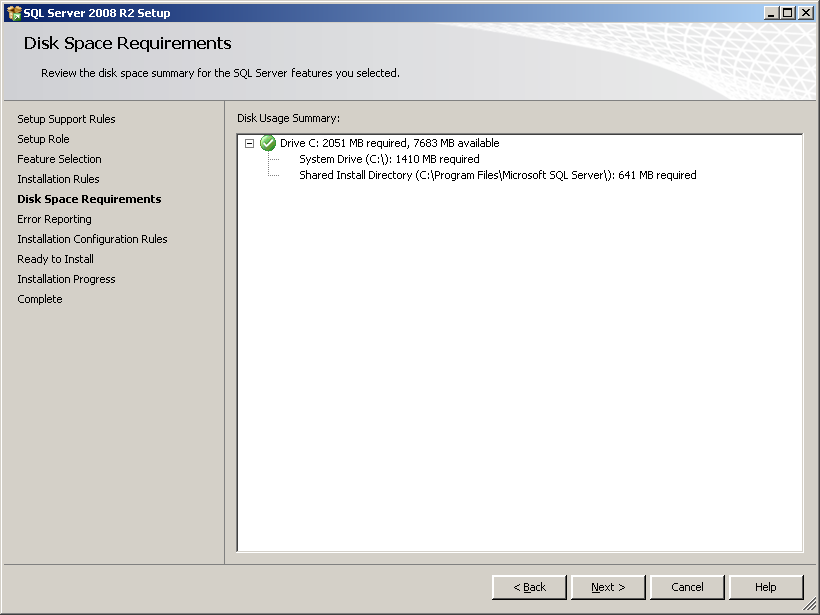
Figure 31: Disk Space Requirements page
Click Next and proceed to configure the error report settings shown in Figure 32.
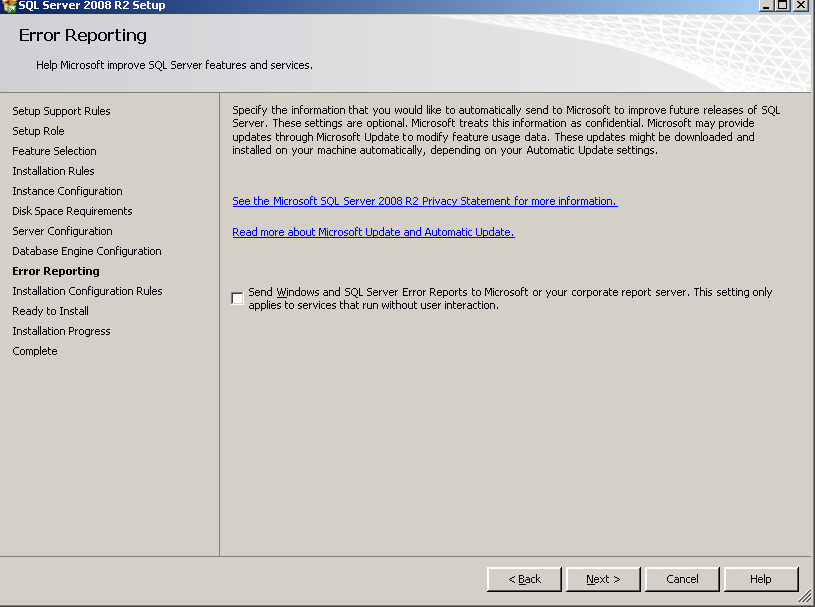
Figure 32: Error Reporting page
Use the default setting on the page, and click Next. The Installation Configuration Rules page opens, as shown in Figure 33.
Figure 33: Installation Configuration Rules page
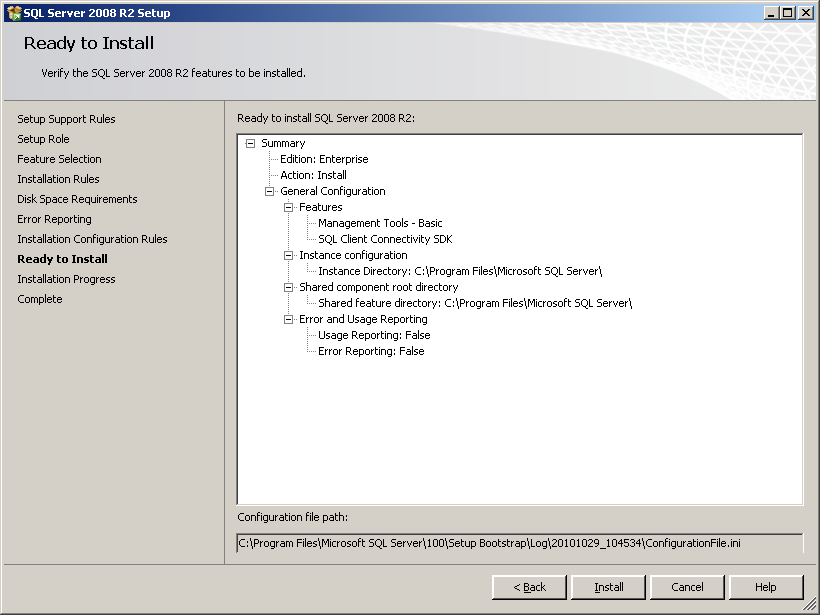
Click Next to enter the Ready to Install page, as shown in Figure 34.
Figure 34: Ready to Install page
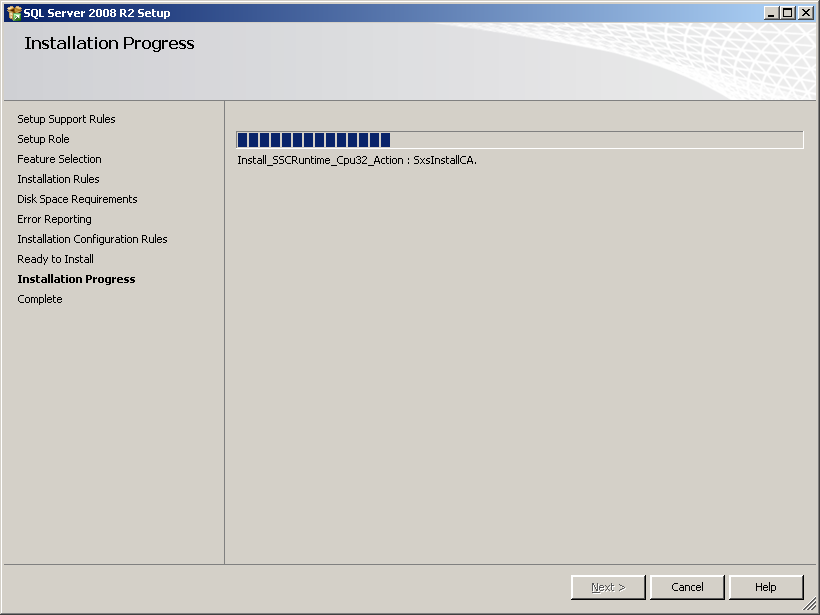
Confirm the installation information, and click Install to start installing SQL Server 2008 R2 client and to enter the Installation Progress page, as shown in Figure 35.
Figure 35: Installation Progress page
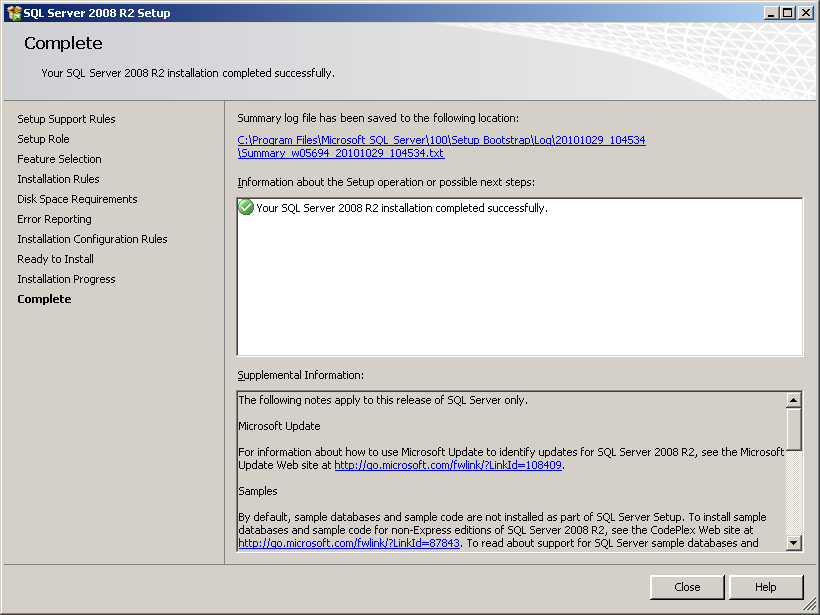
The components installed are relevant to the features selected previously. When the installation process is complete the setup operation completion page opens, as shown in Figure 36.
Click Close to close the Complete page.
Figure 36: Complete page